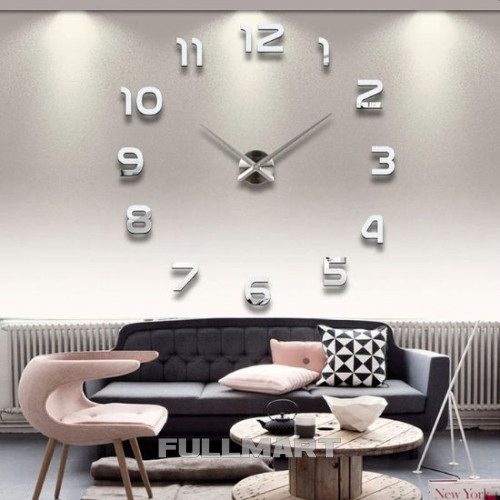
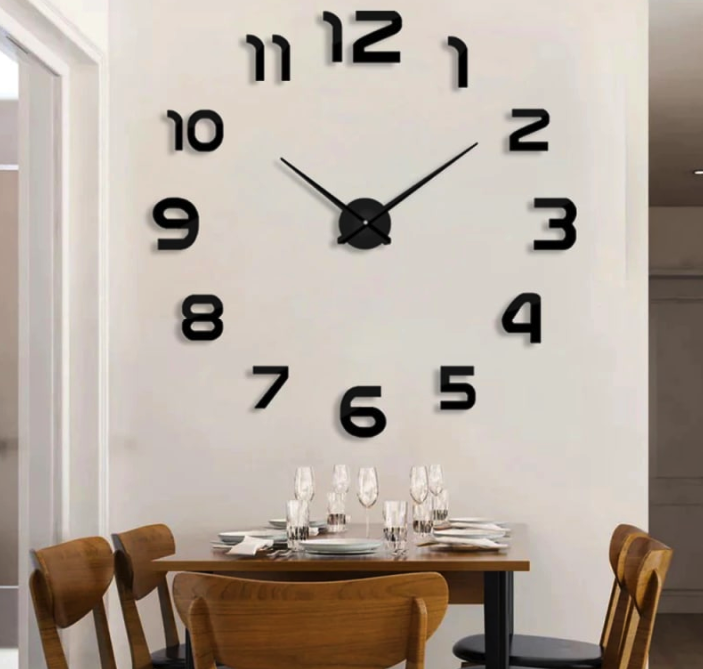
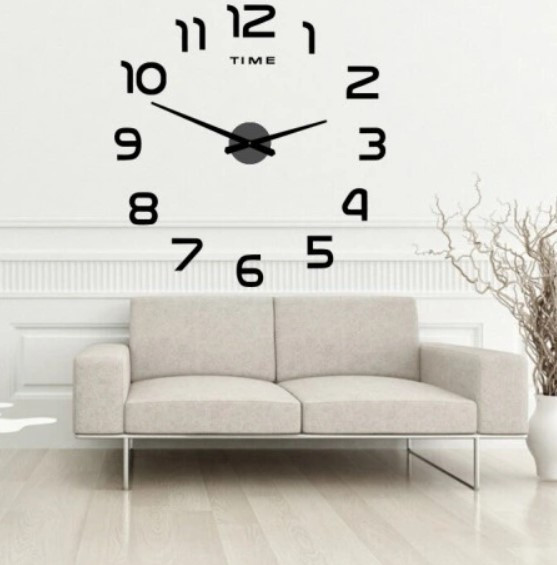
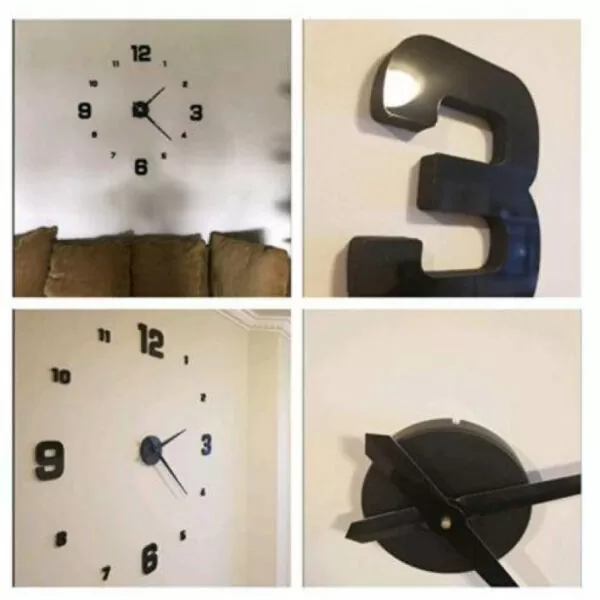

Large wall clock DIY Clock NEW 55 silver with numbers
- Delivery 2-5 days (orders placed before 18:00 are shipped the next day)
- Including delivery - shipping from domovenok.com.ua
- 30 days to return the goods
Description
Stylish DIY Clock NEW wall clock with numbers
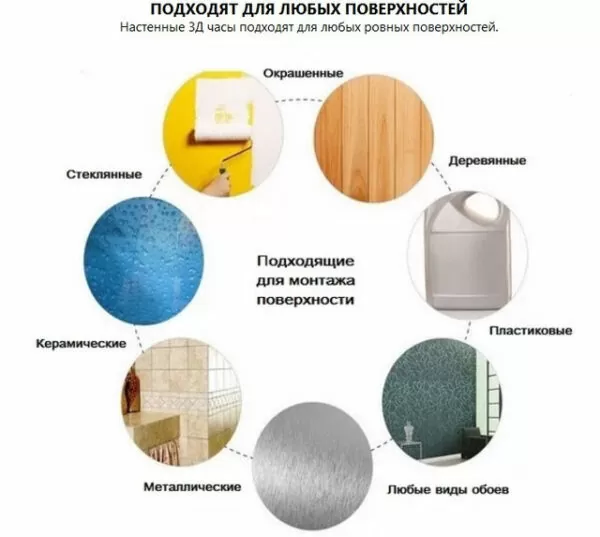
Stylish and creative DIY 3-D wall clock for home, office, cafes and restaurants. Excellent quality. Make any flat surface functional. To do this, simply calculate the distance and glue the stickers with foam to the surface where you want to place the clock. Any size surface in your home, office, or cafe/restaurant will do. The clock mechanism works silently, so enjoy the silence.
Battery type: 1.5 V AA - 1 pc. (not included)
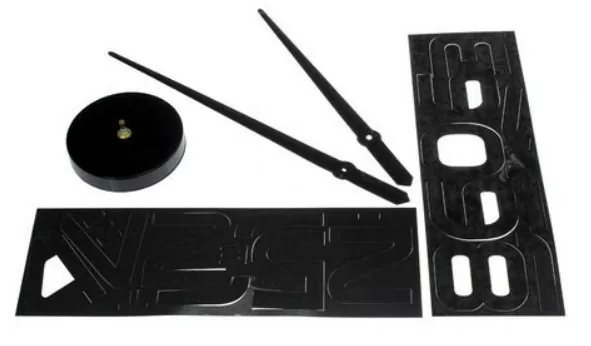
The set includes:
- clockwork mechanism;
- hour and minute hands;
- figures (acrylic + eva foam);
- a template for sticking on the wall;
- installation instructions.
The numbers have a self-adhesive surface for wall mounting.
The watch case is attached by hanging on a fastener (included).
The diameter is from 60 to 90 cm.
The diameter of the mechanism on which the arrows are attached is 10 cm, the height is 2 cm.
Length of the big arrow - 33.3 cm
The length of the small arrow is 27 cm
The height of the wand is 15.5 cm
Brief instructions for installing the watch:
1. Remove the protective film from the arrows.
2. Insert the hands firmly into the center of the dial.
3. Secure the minute hand with the nut.
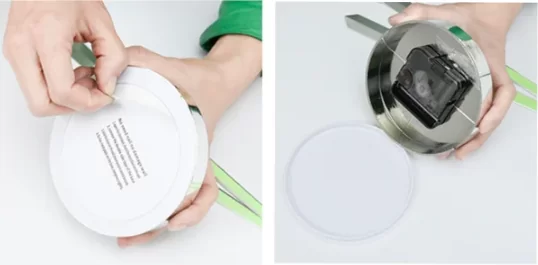
4. Secure the central mechanism mount (double-sided tape) to the wall.
5. Attach the template to the wall to mark the installation of the digits.
6, 7. Determine the size of the watch (cut the template to fit your size).
8. Using the template, make markings where the numbers will be set.
9. Place the minute and hour hands opposite the central movement mounting hole to indicate 12 o'clock.
10. Set the time on the watch using the wheel on the back of the movement.
11 Fit the clock movement with the hands to the mount.
12. Remove the protective film from the double-sided adhesive tape of the acrylic stickers and stick them to the EVA foam
13. Peel off the foam double-sided tape and stick it on the work surface according to the marks
Related products