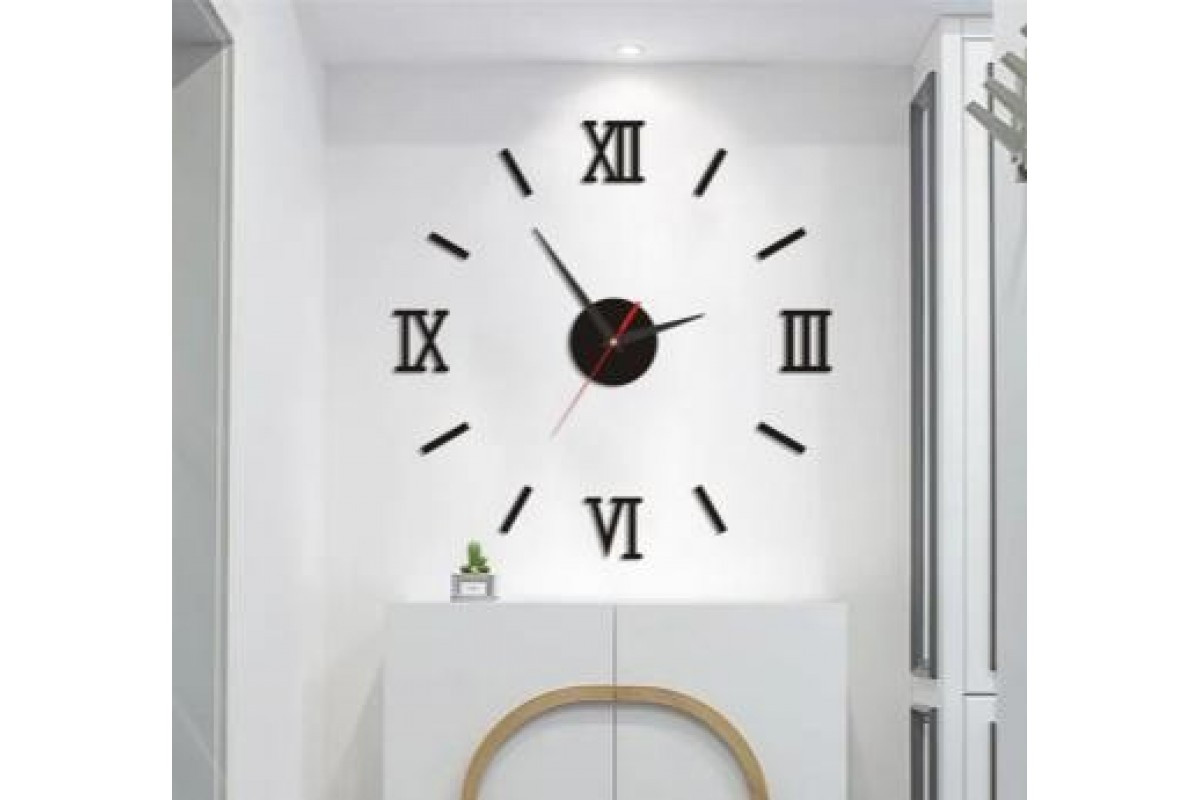
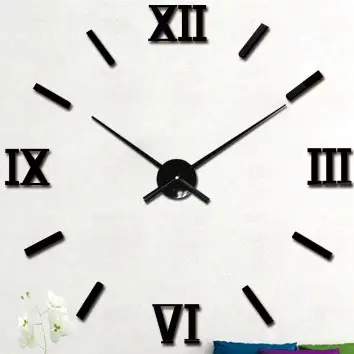
Large wall clock (Roman + Index) Horloge 3D DIY 60-90 cm (Black)
- Delivery 2-5 days (orders placed before 18:00 are shipped the next day)
- Including delivery - shipping from domovenok.com.ua
- 30 days to return the goods
Description
Стильні та креативні настінні 3-D годинник «роби сам» для дому, офісу, кафе та ресторанів. Чудової якості. Зробіть будь-яку плоску поверхню функціональною. Для цього просто розрахуйте відстань і приклейте наклейки за допомогою піни до поверхні, на якій ви хочете розмістити годинник. Підійде поверхня будь-якого розміру в будинку, офісі чи кафе/ ресторані. Часовий механізм працює безшумно, тому насолоджуйтеся тишею.
Діаметр годинника може варіюватися від 60 до 90 см, завдяки чому ви самі зможете підібрати оптимальний для свого інтер’єру розмір настінного годинника, що дає можливість почуватися дизайнером свого дому або офісу, творцем ексклюзивного інтер’єру.
Цифри мають самоклейну поверхню для кріплення на стіні.
Корпус годин кріпиться через навішування на кріпильний елемент (є в наборі).
Кольори: чорний.
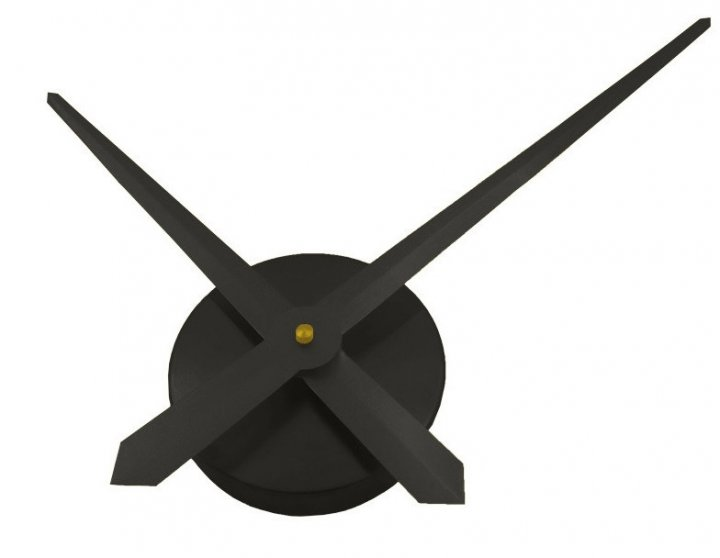
Діаметр механізму, на який кріпляться стрілки, висота 2 см.
The set includes:
clockwork mechanism;
hour and minute hands;
a template for sticking on the wall;
installation instructions.
Brief instructions for installing the watch:
1. Remove the protective film from the arrows.
2. Insert the hands firmly into the center of the dial.
3. Secure the minute hand with the nut.
4. Secure the central mechanism mount (double-sided tape) to the wall.
5. Attach the template to the wall to mark the installation of the digits.
6, 7. Determine the size of the watch (cut the template to fit your size).
8. Using the template, make markings where the numbers will be set.
9. Place the minute and hour hands opposite the central movement mounting hole to indicate 12 o'clock.
10. Set the time on the watch using the wheel on the back of the movement.
11 Fit the clock movement with the hands to the mount.
12. Remove the protective film from the double-sided adhesive tape of the acrylic stickers and stick them to the EVA foam
13. Зняти плівку з двостороннього скотчу пінки і наклеїти на робочу поверхню за позначками.
Related products


Recently viewed items